Thursday, December 4, 2014


This is a composite image of a large speaker and a multicolored image that my cousin painted.
The lyrics of the song are on the bottom on the little metal plate where formerly, the speaker brand name was imprinted. "And the speakers bleed love." This is interpreted in my picture by the leaking through of color and warmth from the middle speaker cone. I also gave the rest of the speaker a stone texture.

Wednesday, October 22, 2014

Portraits


This non-flash portrait is of Richard Kong. All of these portraits were taken under the parking lot structure at Sunvalley Mall. This particular picture shows Richard's positive and outgoing personality. He is "looking up" things.


In this picture, supermodel Richard shows his urban lifestyle. This is directly under a sunlight of the parking garage, throwing lots of diffused light onto Richard, while maintaining a dark background.


These two pictures are both the same concepts as the above portraits, just taken a little differently. This one also shows his ability to be serious.


Monday, October 6, 2014

Connecting to a Place


For this picture, I used the brush tool to make everything but the lamp black and white. I then enhanced the lamp and its glow with multiple brush enhancements and color adjustments. 

When I walked by these stairs, I saw a mix of both welcoming warmth and a "do not disturb the grumpy old man inside" kind of feeling. In fact, there is a private sign right in the middle of the stairs. To help communicate what I saw, I made everything black and white except the lamp on the wall. I also gave the lamp a happy and comforting glow.  


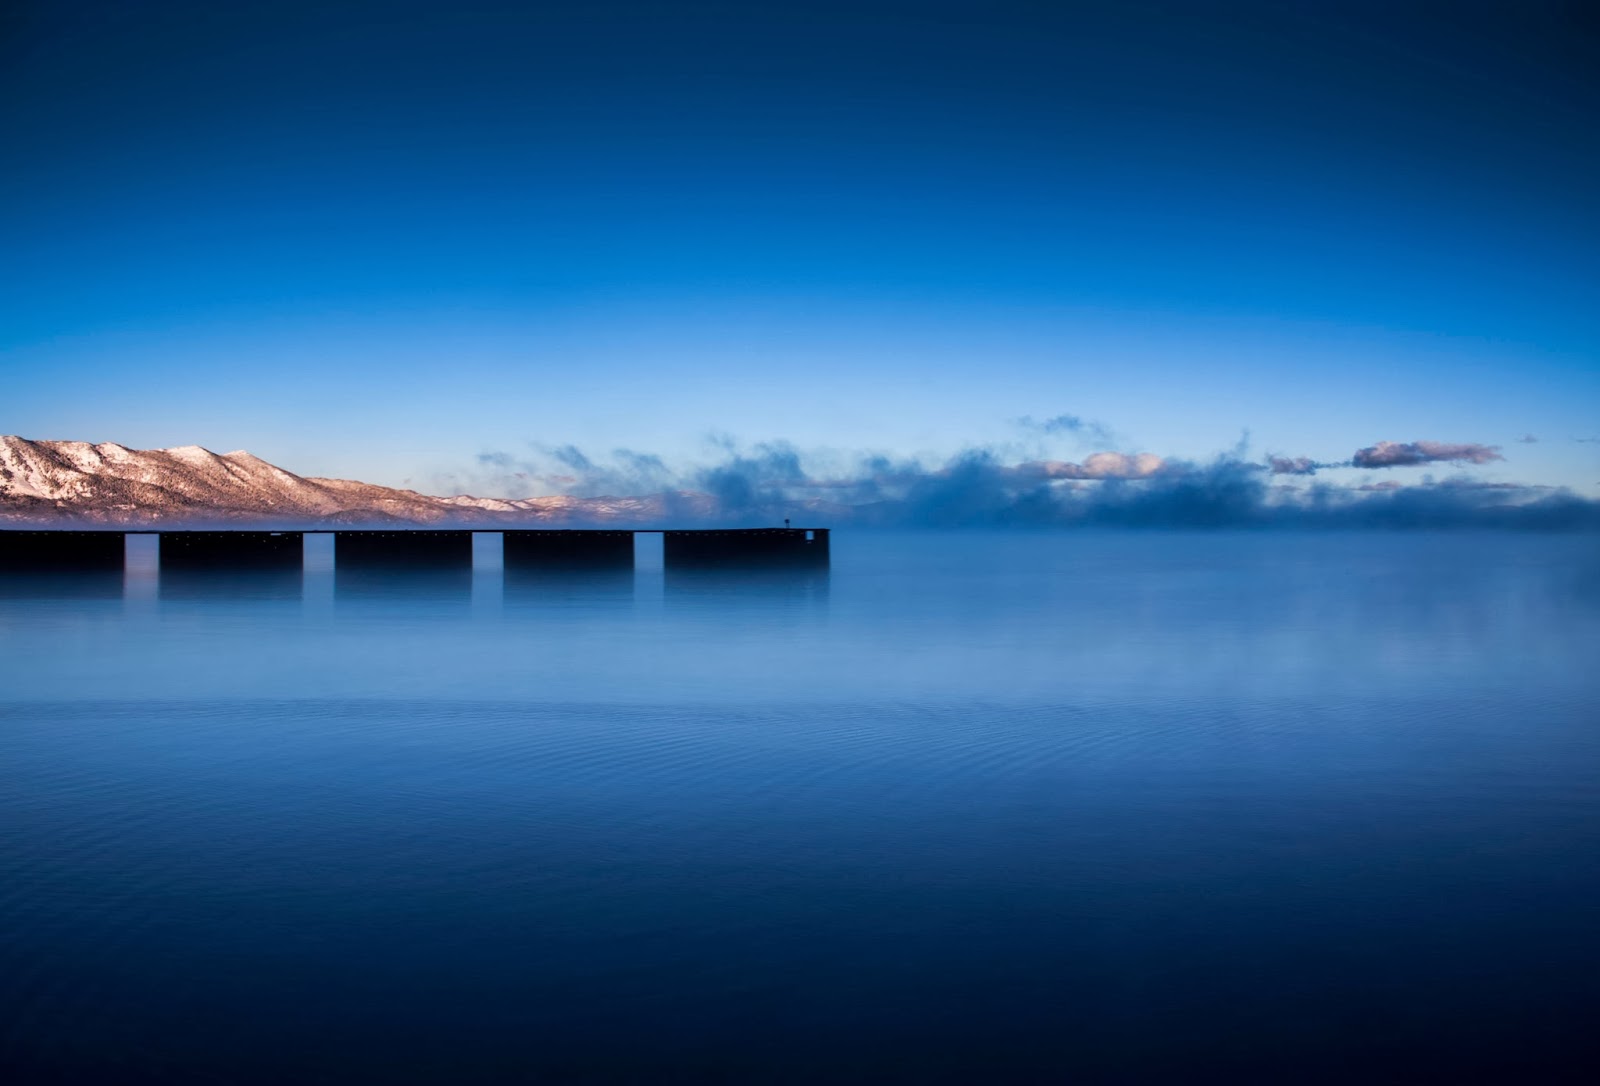
To be honest, I barely even retouched this picture. I enhanced the light a little bit and brightened up the shadows, but not much else. The natural light and shadows did most of the talking.

To me, this scene was reminiscent of of town friends and family. People get together and everyone knows each other. The lighting is perfect and the texture of the patio behind it work together well. The dimly lit bulbs can also represent the lost dreams of actors.


Clarity was increased. The window on the right had a lot of color reflections so I desaturated them. I also tried to perfectly center the door. Vignetting.

This picture summarizes the abandoned feeling that is Port Costa. Paint is terrible, doors are rotting, and 
colors are faded. Also, the lack of technology contributed to the old timey feel.


Clarity and sharpness was increased. I tried to crop the center bulge exactly in the middle because symmetry. I also saturated the blues in the window trim and brightened the shadows. It almost looks HDR.

As more of an abstract picture, this angle on the building could be interpreted as a positive look into the future of the pace. It also shows imperfections and dirty walls, but it shows it in a beautiful way.

Thursday, September 11, 2014

Paper


This was transformed with a crumpled texture and backlit with a purple light. I increased clarity and vibrance, I also reduced shadows.


This is just simplcity and a focus on edges. It is emphasized with sideways light. I increased clarity and shadows. 


Carefully crumpled and placed near a window later in the day results in emphasized features and texture. Same as the others, I darkened that shadows and put more detail in the highlights. Clarity is also increased.

Tuesday, June 3, 2014


What a difficult tutorial. To start off, you create a white layer so you can easily draw the outlines of the face and hair with the pen tool. You have to get used to the pen tool. after yo have all outlines, you create a layer to fill in the colors of the face, hair, lips, and eyes. When you have all the colors in, you then use the dodge and burn tool as well as the smudge tool to make the skin and hair more realistic. 


Tuesday, May 27, 2014

Light Beams

 Beams of Light Tutorial


This one was difficult. In order to get this effect, you use a combination of gradients and custom shapes.   You use the gradient to create a hazy effect behind your more pronounced beams. The more prominent beams are formed by adding a custom shape (lines) and warping their perspective to look realistic. The rest are finishing touches with eraser tools and paintbrushes. Light beams that are farther away are much thinner etc.

Tuesday, April 15, 2014

Warhol


This is my try at a Warhol styled ilustration. The subject is a picture I took of a sunken boat at Point Reyes. The subject and background are duplicated and are edited to change to colors of each duplicate. once you have your subject and background, you double the size of the canvas and then duplicate the image with Ctrl+J. You then take this duplicate and change its appearance with the hue slider. Do this two more times and put them in a square pattern.

Sunday, April 13, 2014

Music Project


This is an image of my sister playing her guitar. The camera angle helps bring all focus to her playing the instrument. Also, I made everything except her hands in black and white to help this cause. This concentration on her hands communicates that when she plays the guitar, everything else "is in black and white."


Going along with a similar message of the last picture, this image communicates the feeling that when she plays the guitar, the rest of her world is shut out. I chose this style crop because it aids in this feeling. I also blew out the whites to give it more of a dreamy feel.


This image shows my sisters ability to express herself through playing the guitar. I purposely made her face obstructed by the reflections of the plant in the window. Like the first picture, I brought more attention to the player and the instrument by making the rest of the photo in black and white.


This photo of my sister shows her love for her guitar. For the most part, throughout this series, I  purposly excluded her face in the picture. This brings to light the idea that the guitar is a part of her, it can serve as the face to her personality.

Tuesday, April 8, 2014

Intentional Under Exposure


This is the before picture. Its is messy and, in my opinion, too bright.


This is the under exposed picture. Its is taken at a more extreme angle and is more simplistic. It is also less bright and thus, more attractive. For this specific example, I manually adjusted the exposure by -2.5.


This is the second "before" picture. Like the first image, it is messy and too bright.


This is the after picture. It is under exposed and much more simple. For this example, the exposure is stepped down by -3.0.

Tuesday, April 1, 2014

Text Tutorial


In order to complete this tutorial, you first start off with a new layer. In this layer, you will create the background gradient. To do this, you use the gradient tool to create a mash of colors you like. After you have your background, you put text on top of your background. To warp the text, you select the warp tool next to the color selection of your text layer. Then you can warp it however you like. Next, you can use the "fx" tab to further edit the word. In this example, I used shadow, outer glow, stroke, bevel and emboss, and pattern overlay.

Thursday, March 13, 2014


Panning Shot

Exposure: 1/60 sec at f/20
Edits: Black and White, Clarity, Darken, Highlights


Blurred Shot

Exposure: 1/60 sec at f/10
Edits: Brush at 0 Saturation, Clarity, Darken


Frozen Shot

Exposure: 1/640 sec at f/5.6
Edits: B/W, Graduated Filter, Clarity


Free Shot

Exposure: 1/1000 sec at f/5.0
Edits: B/W, Graduated Filter, Clarity, Shadows

Thursday, February 27, 2014


This Is the fruit Tiger mouth combination. I made the tiger's mouth farther out over the edge of the fruit. In order to make it look like the fruit continues out to the mouth, I used the clone and stamp tool. I did the same for the "blood" which is actually strawberry jam.

Tuesday, February 18, 2014


Opacity - 69%
Blend Mode - Lighten

When creating a textured picture with an additional layer, first you edit the two pictures before you put them together. When blending them, you have to make sure they are formatted the the same size or the size of your choosing. Then you use a blend mode that best complements the image. You can also determine how much of the texture layer shows up by adjusting the opacity of the texture layer.

In my image, I chose bokeh of christmas lights because it gave the pier a happy, mystical feel. There are fairies that invaded the pier, duh.

Tuesday, February 11, 2014

This series was taken during my vacation in Lake Tahoe. 


This picture is the vast lake in the morning. The smoothness in the water symbolizes the calmness underneath the stormy, smoky behavior over our lake. There are multiple pictures combined to create the calm feeling. There is also saturation and vignetting.


This picture was also taken in the morning. However, I thought the mountain would look better under a night scene, so I made the sky much darker. The message is shown within the morning light that is thrown onto just the tips of the mountain. You're true emotions will shine through.


This picture was taken at the same time as the other two. The message is that the passage of our hard work and dedication, will eventually lead to our happiness. I made the sand close to the bottom of the frame golden, and the picture gradually gets more blue. 


This picture was taken of the way back home. The edits I used was brush to control brightness and clarity in the trees. Also, vignetting was used. The message of this photo is that even in dark times, show your true self and you will shine through.

Tuesday, January 14, 2014

I took this picture in Napa. It is a macro of lettuce. I like this picture because the light of the sun shining through the lettuce looks nice. When you first look at the picture, your eye is directed to the middle leaf of lettuce.
I took this picture at my house. It is a shot of my dads car. I like it because it makes the car seem like it has an attitude. When you first look at it, your eyes go straight to the circular halos in the headlight.
I took this photo in Berkley. I like it because the light is a nice contrast to the rest of the picture. Your eyes are directed towards the lamp post.
I took this picture in Napa.

Thursday, January 9, 2014

Photoshop Adjustment Layers

Original 

Unedited Black & White 


Posterized

Leveled Black & White

Photo Filter

Tuesday, January 7, 2014

Aja Placess

  This is my favorite place on campus. It is my locker. To me, ones locker is a safe haven, or a little piece of home. It is private and something you can call as your own.
 
  This is how I feel at my locker. There is a certain feeling of home and protection.
 This is my least favorite place on campus. The boys bathrooms are hideous.
The Boys bathroom makes me feel frustrated.